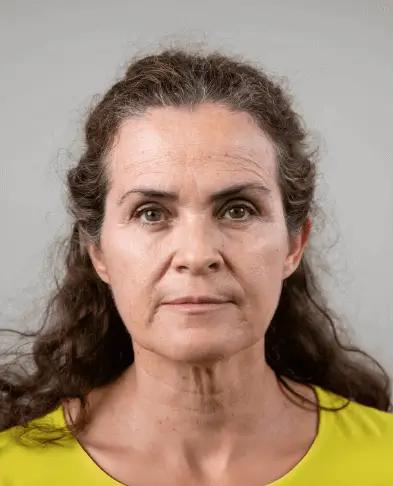
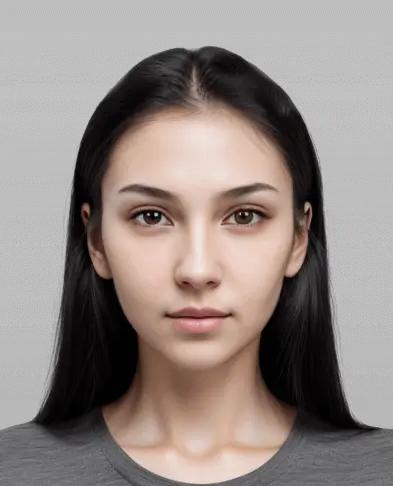
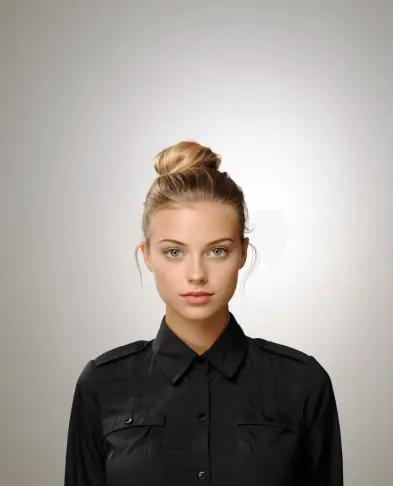
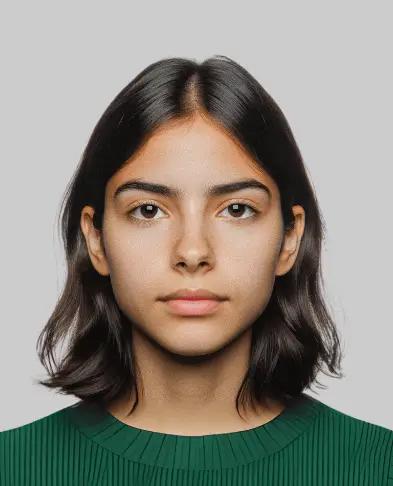
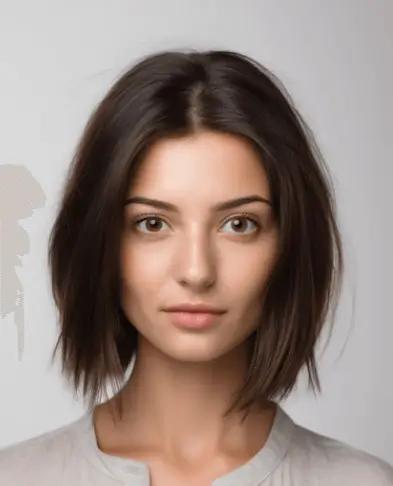
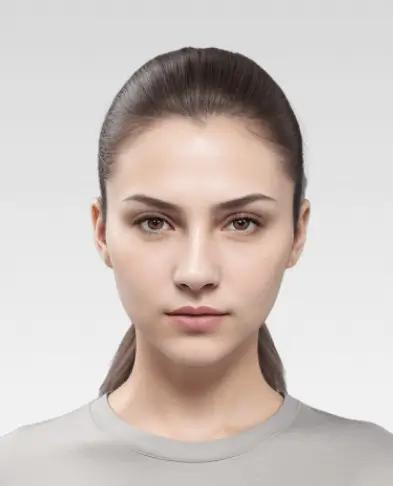
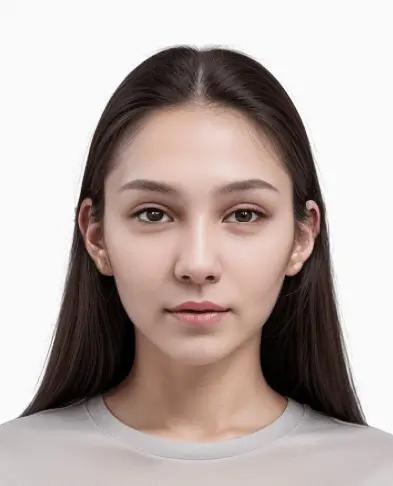
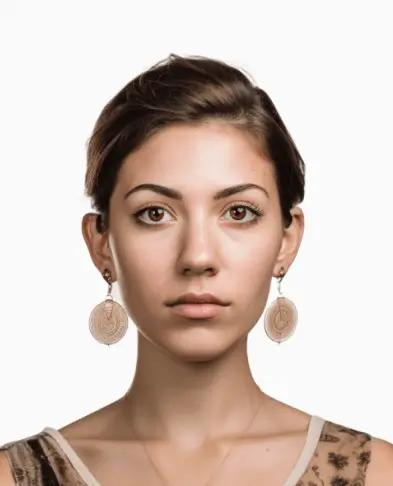
US Baby Passport Photo Requirements & Guidelines
- Compliant & Easy: SnapID ensures your baby's pic meets US passport requirements, saving you time and trips to studios.
- Perfect Photos: Edit and adjust lighting, background, and more for a flawless picture.
- Cost-Effective: Skip expensive studios and get affordable, compliant baby passport photos from home.
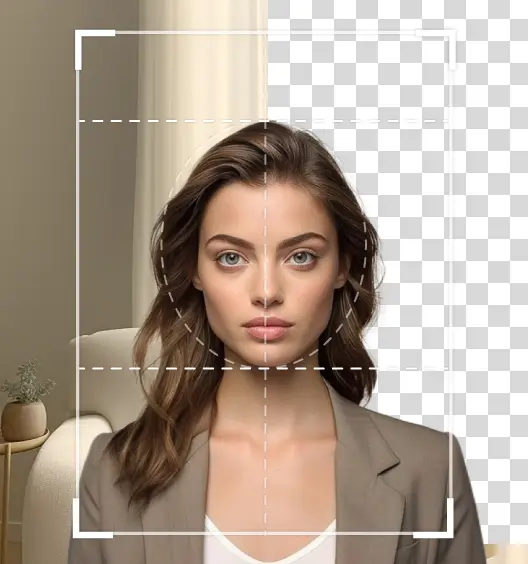
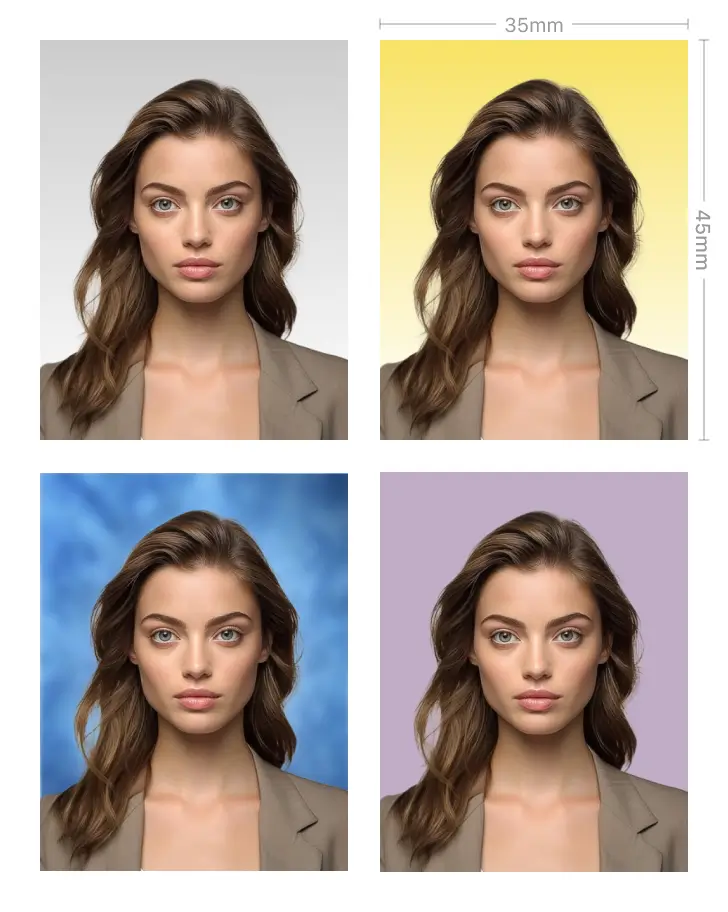
US Baby Passport Photo Requirements
51mm
51mm
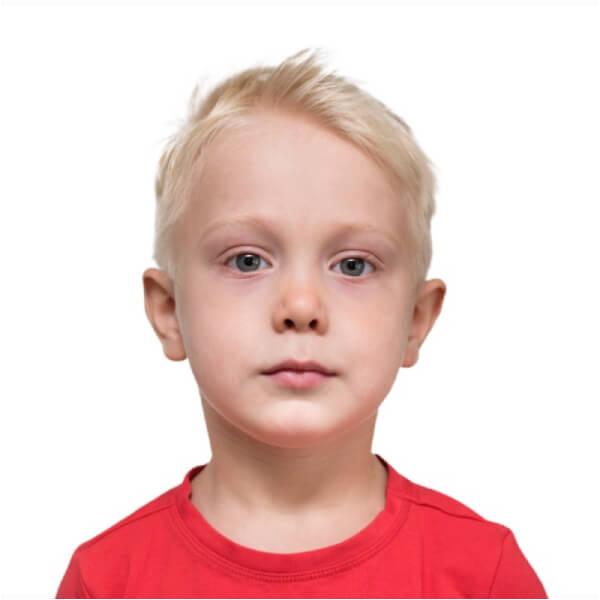
US Baby Passport Example
Size
2inch x 2inch | 51mm x 51mm
Official Website
https://travel.state.gov/content/travel/en/passports/how-apply/online-renewal-photo.html
Face Coverings
1. Remove hats, glasses, and other accessories. Make sure hair is pulled back. No shadows or clothing obscure the face.
2. Clear, focused image with no marks or 'red eye'.Expression
1. The child is facing the camera with his eyes open.
2. It is acceptable if an infant's eyes are not open or entirely open. All other children must have their eyes open.Other
No other person is in the photo.
How to Take a US Baby Passport Photo
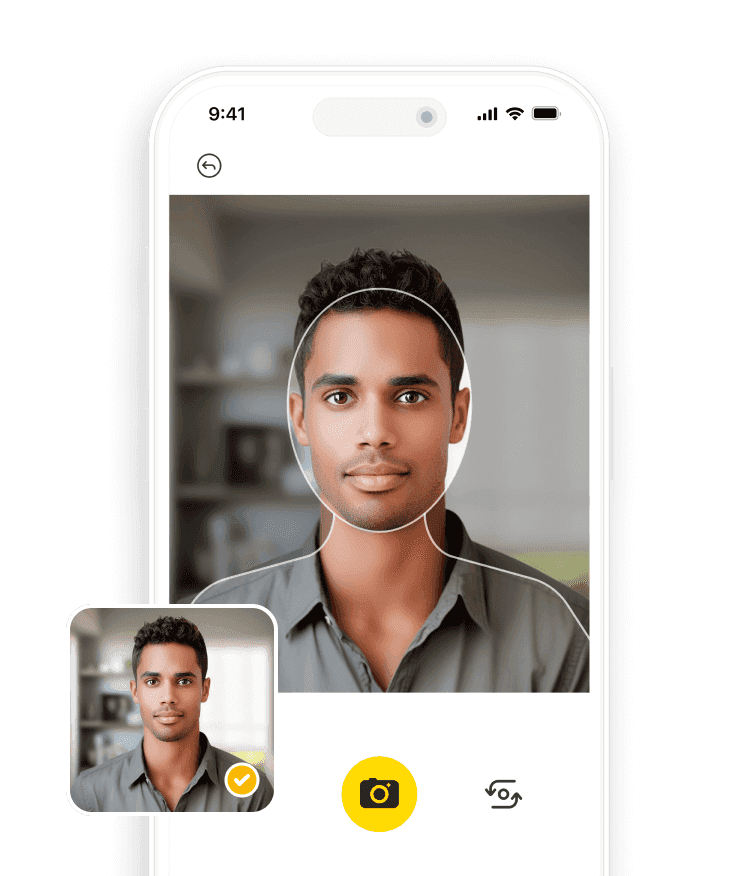
Step1
Download & Choose Document Type
Open Passure and select the specific passport or visa type for tailored photo requirements. Easily upload existing photos for effortless editing.
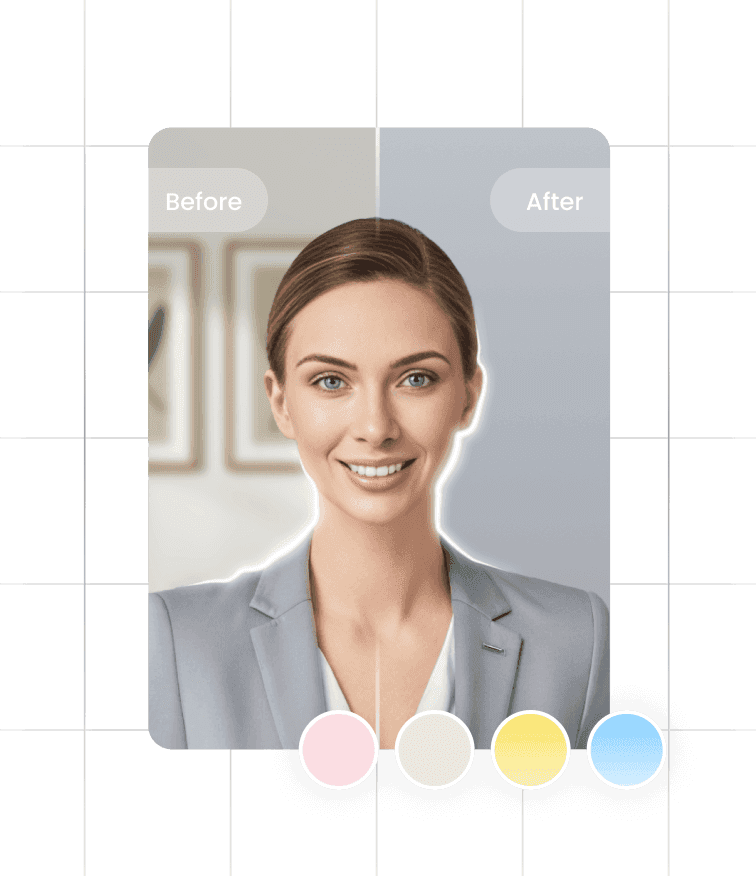
Step2
Edit & Enhance Photos with AI
Utilize Passure's AI-powered tools to adjust backgrounds or enhance skin, ensuring a natural appearance that meets photo standards.
Step3
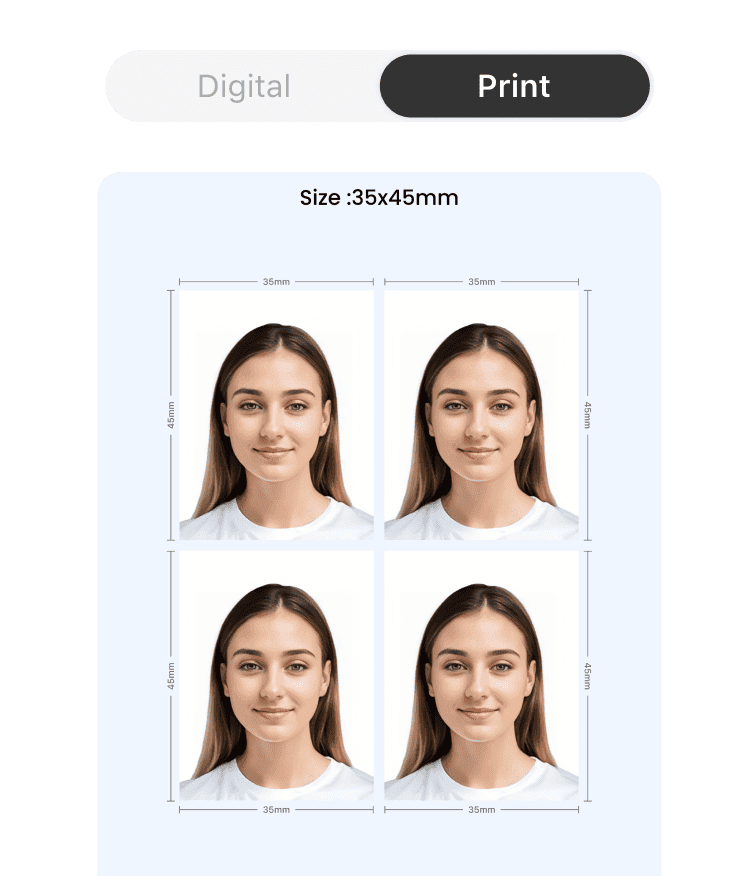
Create Collages and Print
Use Passure's collage feature for multiple photos and print high-quality, compliant images suitable for passport or visa applications.
Shooting Tips for US Baby Passport Photo
- Background
- Head Position
- Expression
- Hair
- Headwear
- Jewelry
- Shadows and Lighting
Use a plain, light-colored background without patterns or distractions. Ensure a consistent background free from shadows for a professional and compliant passport photo or ID photo.
Good examples
Bad examples
- Background
Use a plain, light-colored background without patterns or distractions. Ensure a consistent background free from shadows for a professional and compliant passport photo or ID photo.
Good examples
Bad examples
- Head Position
Face the camera directly with your head centered within the frame. Keep the head straight, neither tilted nor rotated, for accurate representation.
Good examples
Bad examples
- Expression
Maintain a neutral expression with a closed mouth and relaxed facial muscles. Avoid smiling or frowning excessively for consistency and easy identification.
Good examples
Bad examples
- Hair
Style your hair neatly, away from the face. Ensure all facial features are fully visible without any hair obstruction.
Good examples
Bad examples
- Headwear
Generally, avoid wearing hats, headgear, or items that cover the head or hair, unless for religious or medical purposes. Ensure they don't obstruct facial features.
Good examples
Bad examples
- Jewelry
Limit jewelry to small, non-distracting pieces. Avoid wearing large or reflective accessories that may cast shadows or glare on the face.
Good examples
Bad examples
- Shadows and Lighting
Choose well-lit areas to eliminate shadows. Ensure even lighting across the face, minimizing harsh shadows or glares that might alter facial features.
Good examples
Bad examples
US Baby Passport FAQ
How to take baby passport photo with iPhone?
Using a passport photo app on iPhone like SnapID can simplify the process of capturing a baby passport photo. By following these steps and utilizing SnapID's features designed for passport photos, parents can efficiently capture and create a compliant passport photo for their baby with iPhone. Here are some steps of how to take a passport for infant with SnapID: 1. Download SnapID: Start by downloading and installing SnapIDapp the free passport photo app on your iPhone. 2. Select passport photo option: Open the SnapID app and choose the "Passport Photo" or "ID Photo" option from the menu. 3. Choose passport for infant template: Look for specific passport templates or guidelines designed for baby passport photo within the SnapID app. These templates typically cater to the requirements for infants. 4. Prepare the baby and setting: Place your baby in a well-lit area with a plain, light-colored background. Ensure the baby is comfortable and calm before taking the passport photo. 5. Position the baby: Position the baby facing the camera directly. Gently hold or support the baby to keep them stable and centered within the frame. 6. Capture the passport for infant: Use the SnapID app's camera function to take the photo. Follow any guidelines provided by the app for positioning and framing the baby's face. 7. Edit and adjust the photo (if needed): Utilize SnapID's editing tools to adjust passport size for infant, change background color or flip the image if necessary. Ensure the photo meets the specified requirements for a baby passport photo. 8. Save and review: Save the photo within the SnapID app and review it to ensure it complies with the guidelines provided for baby passport photo. 9. Printing or downloading: Once satisfied with the passport for infant, proceed to print it directly using SnapID's printing services. Alternatively, download the photo to your device for printing at a nearby location including CVS, Walmart, Sam's club.What are the benefits of using SnapID for baby passport photo?
1. Specialized Templates: SnapID often offers specialized templates catering to the specific requirements for baby passport photos. 2. Ease of Use: The app provides a user-friendly interface that guides users through the process of capturing and editing photos for various identification purposes. Not only passport for infant, but passports and visas for different countries are also available in SnapID.What are the shooting tips for baby passport photo?
Capturing a baby passport photo using an iPhone requires careful consideration of several factors to ensure a suitable and compliant photo. By following these shooting tips and choosing appropriate attire, parents can ensure a successful and compliant passport photo for their baby using SnapID on their iPhone: 1. Well-Lit Area and Background: Choose a well-lit area with natural light. Ensure the background is plain, light-colored, and free from distractions. 2. Supportive Seating or Holding: Use a stable and supportive surface or have someone securely hold the baby to keep them still during the photo shoot. 3. Maintain a Neutral Expression: Encourage the baby to remain calm with a neutral expression. Avoid attempting to make them smile excessively. 4. Face Visibility: Ensure the baby's face is fully visible, with eyes open and looking at the camera. Avoid any objects obstructing their face. 5. Positioning and Framing: Position the baby facing the camera directly, centered within the frame of the photo. 6. Use iPhone Camera Settings: Utilize the camera settings on your iPhone to adjust brightness, focus, and resolution for optimal photo quality.


