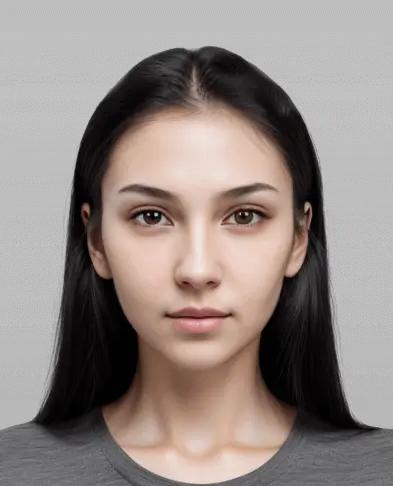
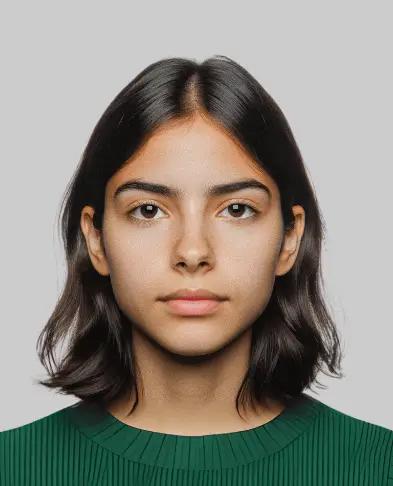
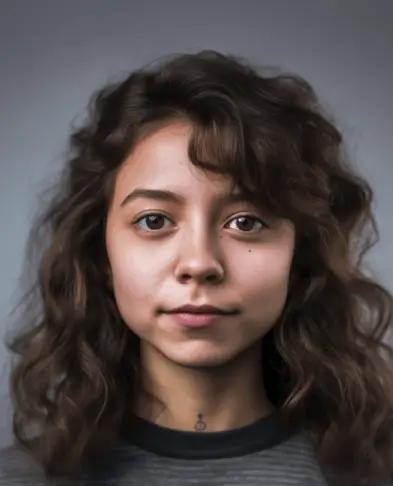
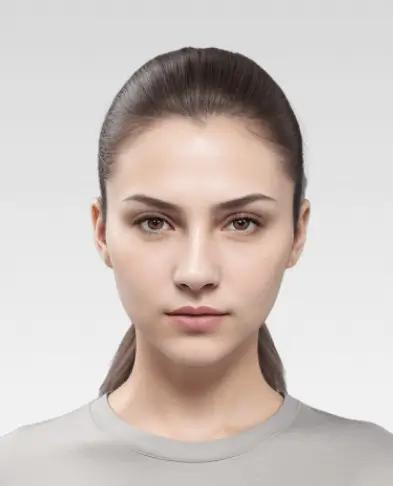
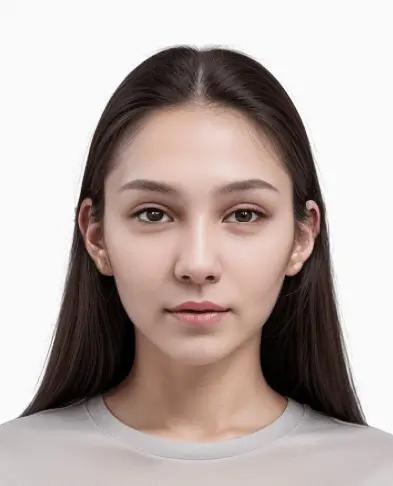
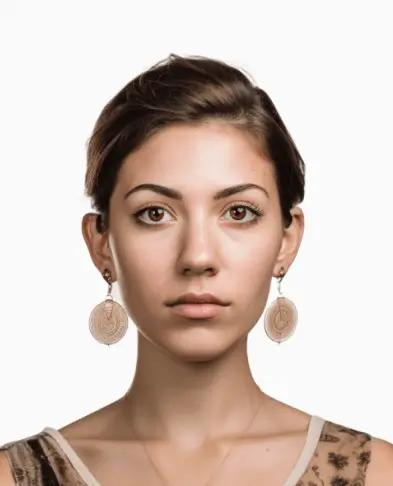
Create Your Student ID
Photo Online
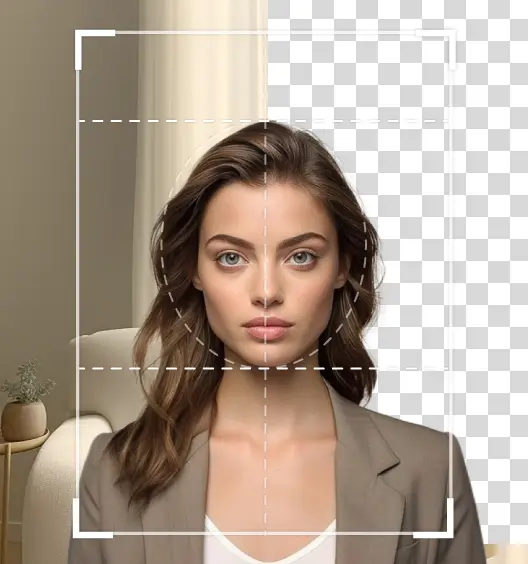
- Effortlessly remove background with one click
- Template ready to print
- Universal compliance: Photos meet international standards
- Professional passport photos at budget-friendly prices
Student ID Photo Requirements
51mm
76mm
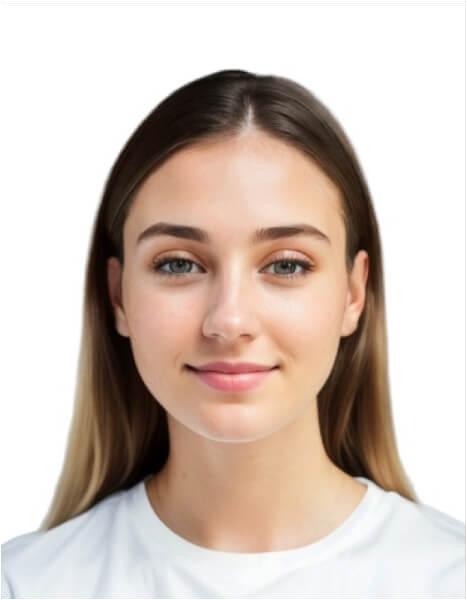
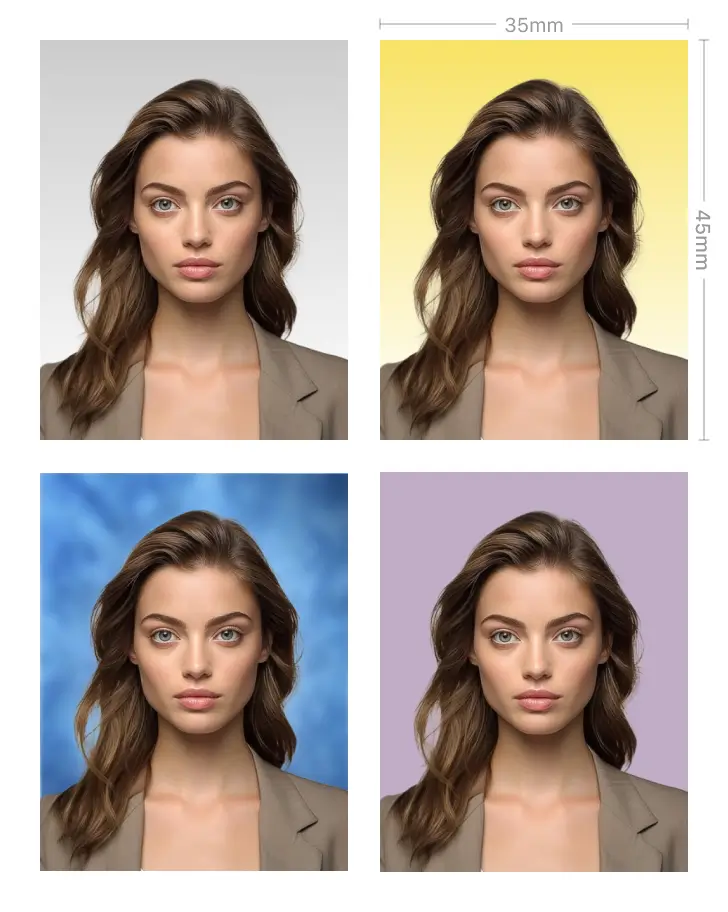
Student ID Example
Size
2inch x 3inch | 51mm x 76mm
Face Coverings
1. Remove hats, glasses, and other accessories. Make sure hair is pulled back. No shadows or clothing obscure the face.
2. Clear, focused image with no marks or 'red eye'.Expression
Neutral expression with eyes open and mouth closed.
Other
Avoid over-retouching.
How to Take a Student ID Photo
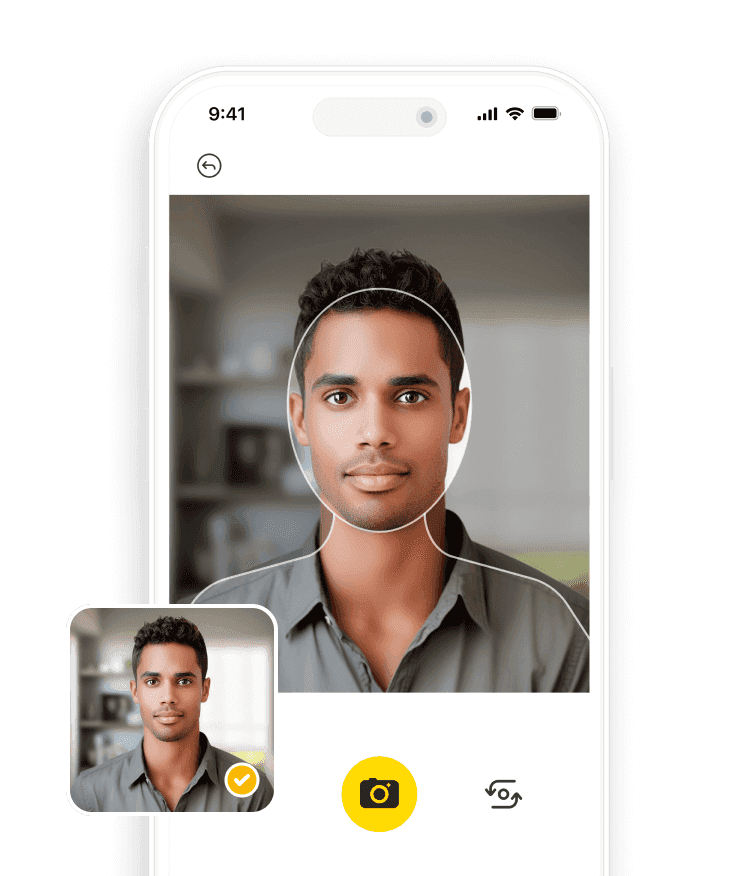
Step1
Download & Choose Document Type
Open Passure and select the specific passport or visa type for tailored photo requirements. Easily upload existing photos for effortless editing.
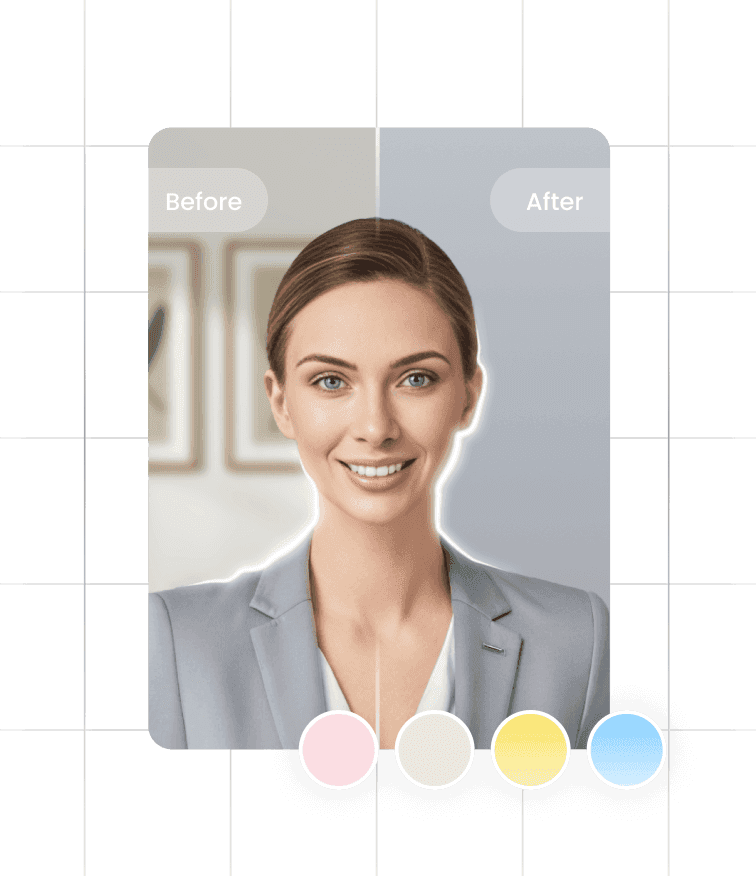
Step2
Edit & Enhance Photos with AI
Utilize Passure's AI-powered tools to adjust backgrounds or enhance skin, ensuring a natural appearance that meets photo standards.
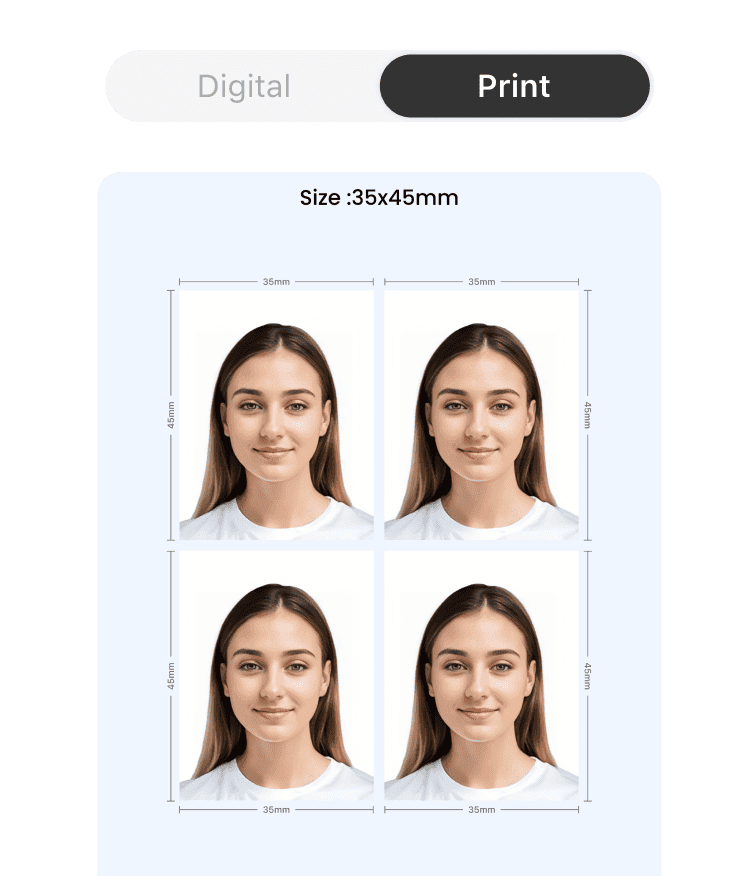
Step3
Create Collages and Print
Use Passure's collage feature for multiple photos and print high-quality, compliant images suitable for passport or visa applications.
Shooting Tips for Student ID Photo
- Background
- Head Position
- Expression
- Hair
- Headwear
- Jewelry
- Shadows and Lighting
Use a plain, light-colored background without patterns or distractions. Ensure a consistent background free from shadows for a professional and compliant passport photo or ID photo.
Good examples
Bad examples
- Background
Use a plain, light-colored background without patterns or distractions. Ensure a consistent background free from shadows for a professional and compliant passport photo or ID photo.
Good examples
Bad examples
- Head Position
Face the camera directly with your head centered within the frame. Keep the head straight, neither tilted nor rotated, for accurate representation.
Good examples
Bad examples
- Expression
Maintain a neutral expression with a closed mouth and relaxed facial muscles. Avoid smiling or frowning excessively for consistency and easy identification.
Good examples
Bad examples
- Hair
Style your hair neatly, away from the face. Ensure all facial features are fully visible without any hair obstruction.
Good examples
Bad examples
- Headwear
Generally, avoid wearing hats, headgear, or items that cover the head or hair, unless for religious or medical purposes. Ensure they don't obstruct facial features.
Good examples
Bad examples
- Jewelry
Limit jewelry to small, non-distracting pieces. Avoid wearing large or reflective accessories that may cast shadows or glare on the face.
Good examples
Bad examples
- Shadows and Lighting
Choose well-lit areas to eliminate shadows. Ensure even lighting across the face, minimizing harsh shadows or glares that might alter facial features.
Good examples
Bad examples
Student ID FAQ
What are the benefits of SnapID for student ID card photo?
1. User-Friendly Interface: SnapID's intuitive design makes it easy to follow the necessary steps for a compliant student ID card photo. 2. Compliance with Standards: The app's templates and guidelines ensure photos adhere to the specific requirements set by educational institutions. 3. Convenience and Accessibility: SnapID's accessibility on smartphones enables students to capture and edit their ID photos from anywhere.How to take student ID picture with an ID photo app?
When using an ID photo app SnapID to capture your student ID picture, following specific guidelines can ensure a suitable and acceptable photo for your student ID card. Here are steps for taking a student ID card picture: 1. Choose suitable ID photo app and guidelines: Select an ID photo app that offers guidelines specific to student ID photos. Apps like SnapID provide templates or guides for student ID picture requirements. 2. Setting and Background: Find a well-lit area with a plain, neutral-colored background. Ensure the backdrop is free from distractions or patterns that might detract from your face. 3. Pose and Framing: Position yourself facing the camera directly. Frame the shot to include your head and shoulders, keeping yourself centered within the photo. 4. Facial Expression and Appearance: Maintain a neutral, relaxed facial expression, representing your natural appearance for your student ID. Ensure your face is fully visible without any obstructions. 5. Hair and Attire: Keep your hair neat and away from your face. Dress in suitable attire, avoiding busy patterns or accessories that might obscure your face or distract from your student ID picture. 6. Follow App Instructions: Utilize the features provided by SnapID the ID photo app to ensure compliance with specific photo requirements outlined for a student ID card.What can you do and not do in a student ID card photo?
Capturing a suitable student ID card picture using SnapID an ID photo app involves following specific guidelines to ensure compliance with the standards set by your educational institution. Following these steps will help you obtain an acceptable photo for your student ID card. Dos: 1. Adhere to Institution Guidelines: Follow the guidelines set by your educational institution regarding acceptable photo standards for a student ID card. 2. Natural Appearance: Maintain a natural appearance without excessive makeup or alterations, ensuring your ID photo represents your everyday look. Don'ts: 1. Avoid Heavy Editing: Refrain from using excessive filters or editing that significantly alters your appearance for your student ID card picture. 2. No Obstructions or Dramatic Expressions: Avoid accessories that cover essential facial features and steer clear of making dramatic or exaggerated facial expressions in the ID picture.


